We often encounter scenarios where we have to move workloads to a different virtual network. In an on-premise environment, moving virtual machines to a different virtual network is a breeze, but it has not always been straightforward in Azure.
One of the methods to moving a virtual machine in Azure, is deleting the existing VM, creating a new VM in the new network and then attaching the existing disks.
In this blog post, I will show you how to moving a vm to a different virtal network using Azure Recovery Services Vault.

Here is a step-by-step guide -
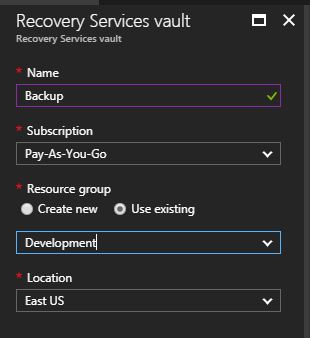
1) Create a Recovery Services Vault in Azure
Enter the name of the Vault, select the subscription, Resource group and region.
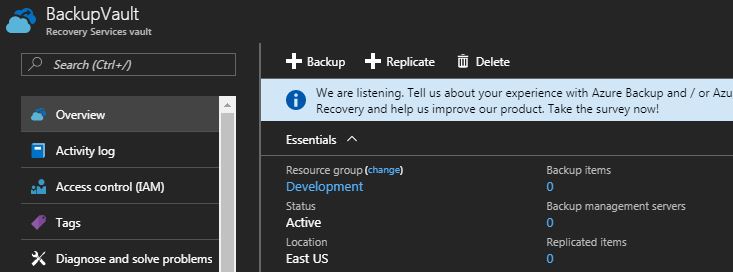
Once the recovery services vault is created, create a new backup
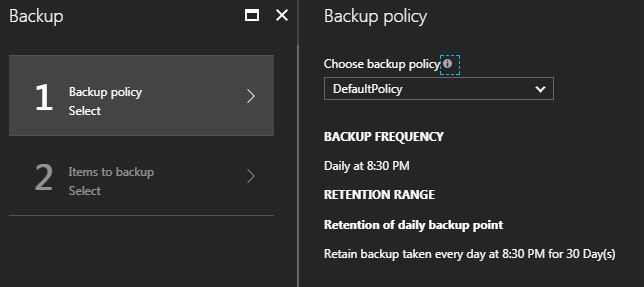
2) Configure the Virtual Machine Backup
Create a New Backup Goal and Backup Policy. Select the Backup Frequency and Retention Range. You can create a new policy to set this backup to not re-occur.

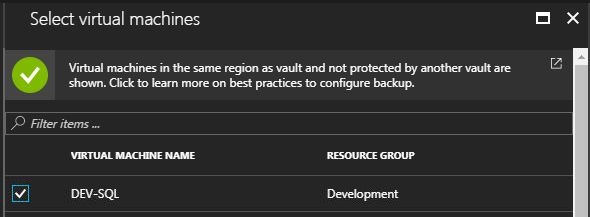
Select the Virtual Machine to Backup. This is the VM in our old network.
3) Backup the Virtual Machine from the old network
Once the configuration is complete, click Backup Now to begin the backup of the VM. You should recieve a popup alert in Azure once the backup is complete.

4) Restore the Virtual Machine to the new network
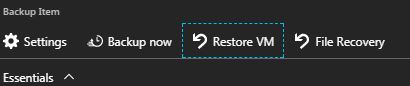
After Backup is complete, Select the Azure VM in Backup Items and click Restore VM.
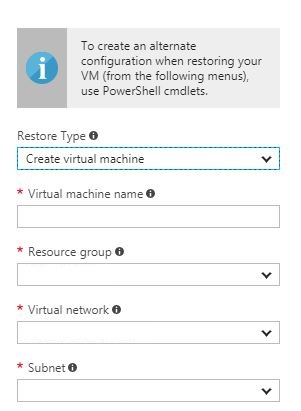
Set Restore Type to Create Virtual Machine, Select the Resource Group and the New Virtual Network.
Once the VM is restored, you can see it in your list of virtual machines. You can then decommission the VM in the old network.

Summary
To summarize, we used Azure Recovery Services Vault to move a vm to a different network. I find this method more straightforward and with some scripting, we can easily make this process scale. I will cover the script in a later blog post. I hope you found this post helpful!