As a SharePoint User, you probably have interacted with data stored in a SharePoint list. We use SharePoint Lists to collect and organize onboarding tasks, vacation requests, expense reports, sales numbers and so much more.
In the past, we have been using views to group and filter SharePoint data. How amazing would it be, if we could visualize that vast amount of data in a more meaningful and interactive way?
In this blog post, I will show you how we can easily integrate SharePoint Online and Power BI. We can now view beautiful reports right where your data lives, in SharePoint itself.

First, a brief explanation of Power BI. Power BI is Microsoft’s suite of interactive business analytics tools that can deliver insights throughout your organization.
Using Power BI, you can quickly create stunning dashboards and reports and easily publish them for consumption throughout your organization.
Create a SharePoint List
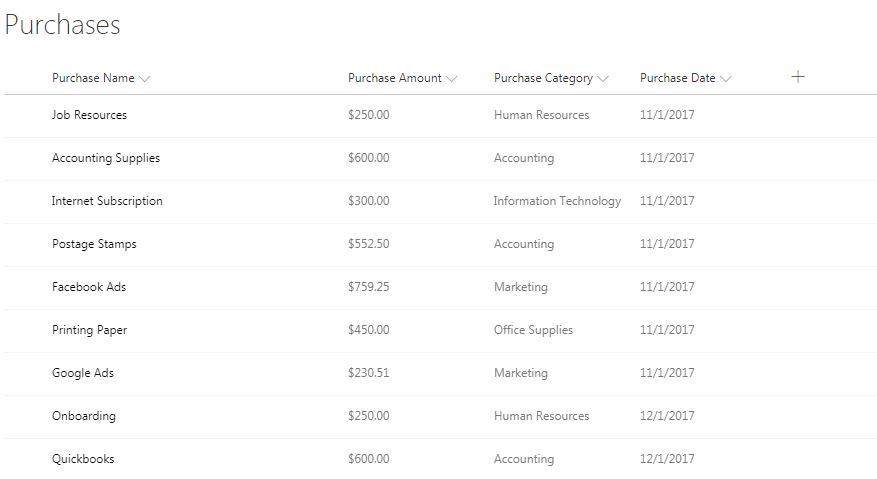
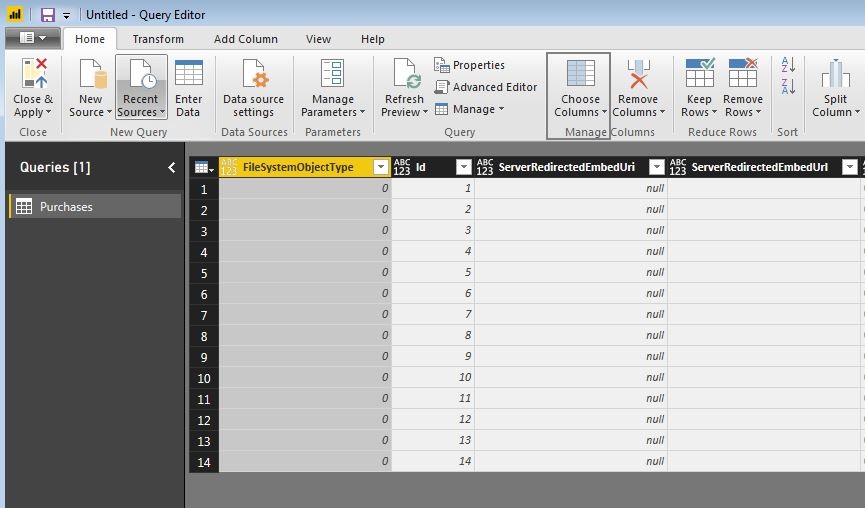
In this example, I have a purchases list that keeps track of the organization’s purchases and categorizes them. One benefit of using SharePoint to store this data is the metadata that SharePoint automatically captures like the person who created the SharePoint list item and the date it was created. This information is available for us to use in Power BI. Here are the list columns I am using in my Purchases List.
Download Power BI Desktop
Power BI Desktop is a powerful data exploration and reporting tool that can be installed on your computer. It allows you to drag and drop visualizations onto the report canvas and allows you to publish reports to the cloud through the Power BI Service.

You can download Power BI Desktop for free using the link below –
https://powerbi.microsoft.com/en-us/desktop/
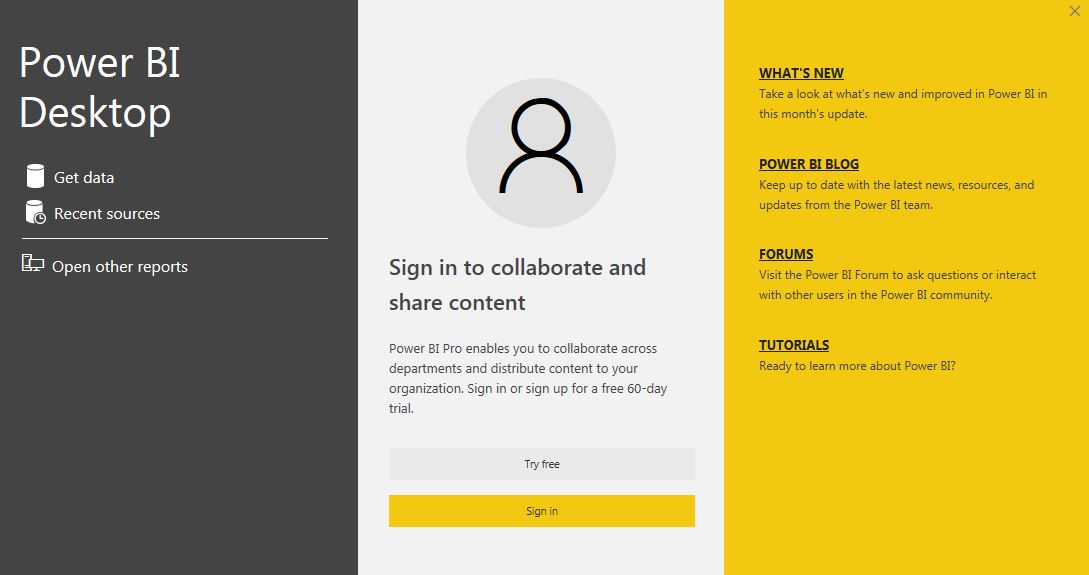
After, Power BI Desktop has finished installing click Get Data to connect to your data stored in the SharePoint List.
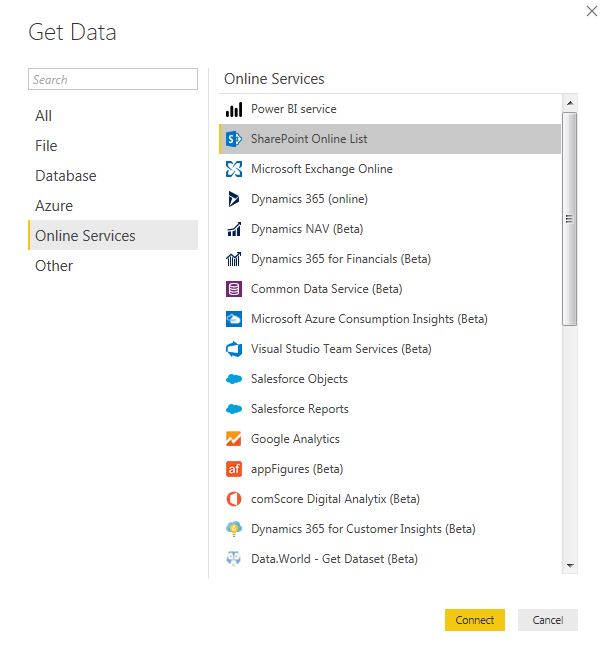
Select Online Services and then select SharePoint Online List. Enter the SharePoint site address where your list is being stored.
Select the SharePoint List you would like get data from into Power BI. In my example, I selected the Purchases list and then clicked Edit. You can click Load to load all columns in the SharePoint List, but this brings in more data than you would need, especially some of the internal SharePoint fields which would not be useful in analyzing the data.
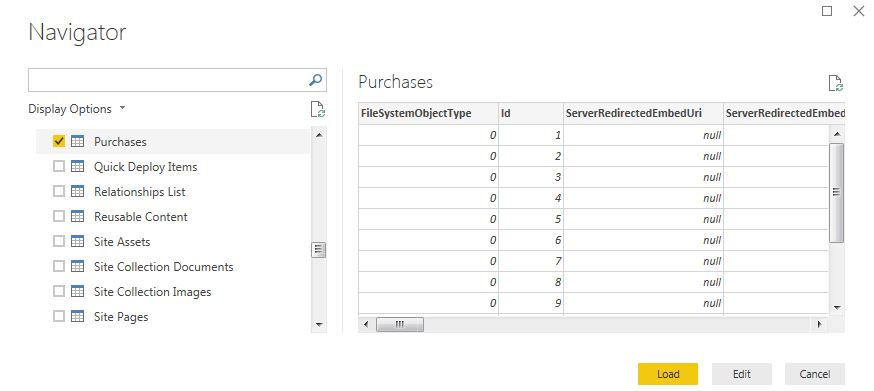
A recommended and best practice approach is to click Edit instead and then only bring data in that you need. This makes your data model clean and easier to query.
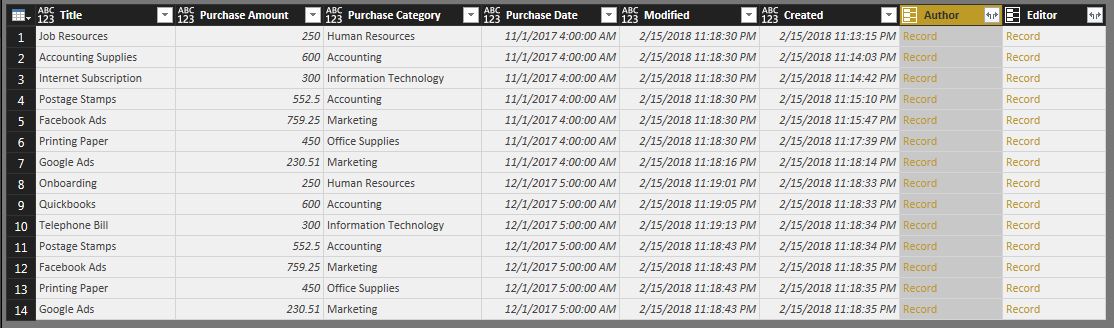
Click the Choose Column tab in the ribbon and select choose columns. In my example, I selected Title, Purchase Amount, Purchase Category, Purchase ID, Modified, Created, Author and Editor.
Note: Keep in mind that a column that has been re-named still shows the original name in Power BI. I had renamed my list Column ‘Title’ to ‘Purchase Name’, but In the Power BI Query Editor, it shows as Title.

Modify the Power BI Query
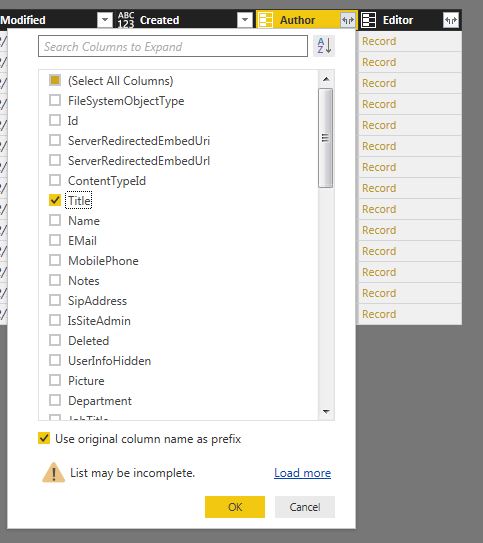
The Author and Editor columns are supposed to display the names of the person who created and modified the list item. Instead, the columns show Record instead of the display name of the Created by and Modified By. To view the data, click the expand button and select Title to bring in only the display name. You can also bring in additional information like Department, Phone number into the returned data.
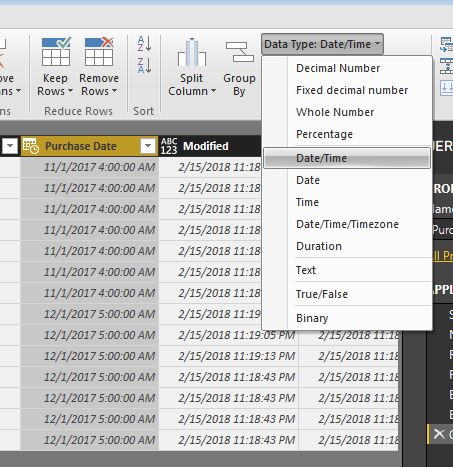
The next step is to set the data type of the Purchase Date to Date/Time. Select the Purchase Date column and click the Data Type button in the ribbon and select Date/Time. This allows Power BI to automatically get the Year and Month from the date.
We will also change the data type of Purchase Amount to currency. Select the ‘Purchase Amount’ column and set the Data Type to the Fixed decimal number.
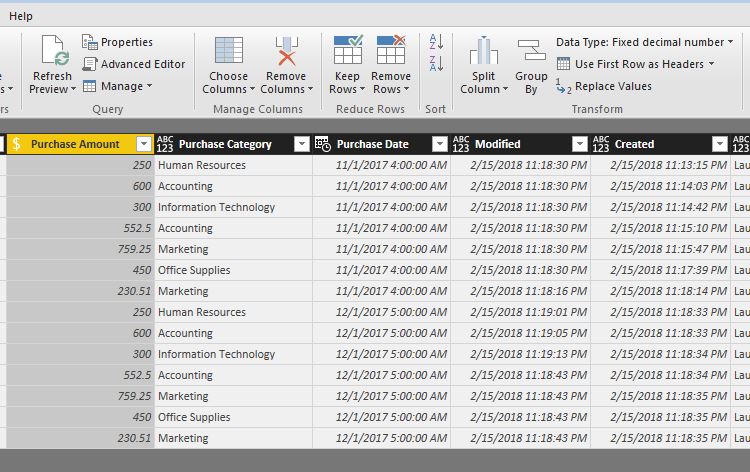
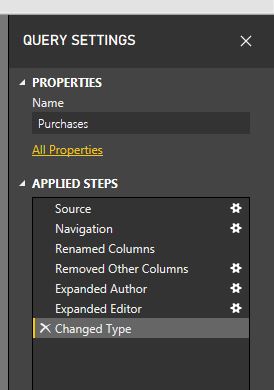
The query settings on the right show us all the steps we took till now and we can easily undo any changes by clicking the x next to each step.
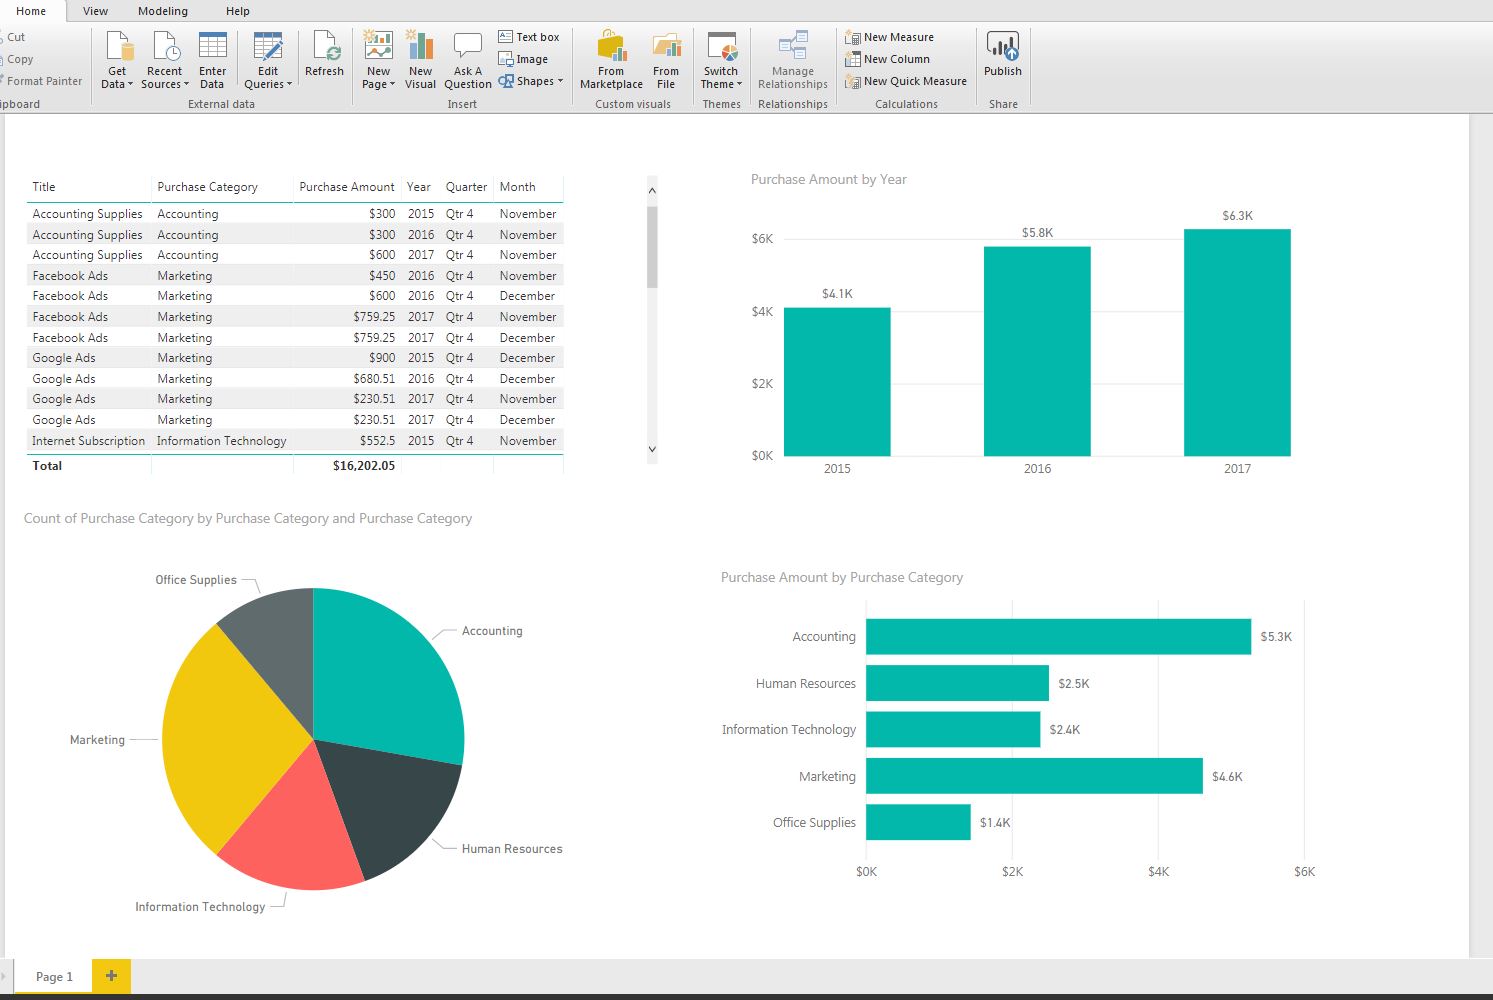
Build the Power BI Report
In this Power BI report, I will be adding four different visualizations (Table, Pie Chart, Stacked Column Chart, Clustered Bar Chart). There are more charts and visuals available to us in Power BI that we can choose from.
Creating a Table
Click the checkbox next to the fields and it automatically adds the columns to the table. Because we changed the data type of ‘Purchase Amount’ to Fixed Decimal Number (currency), it shows us the $ symbol and displays a total Purchase Amount below the data.
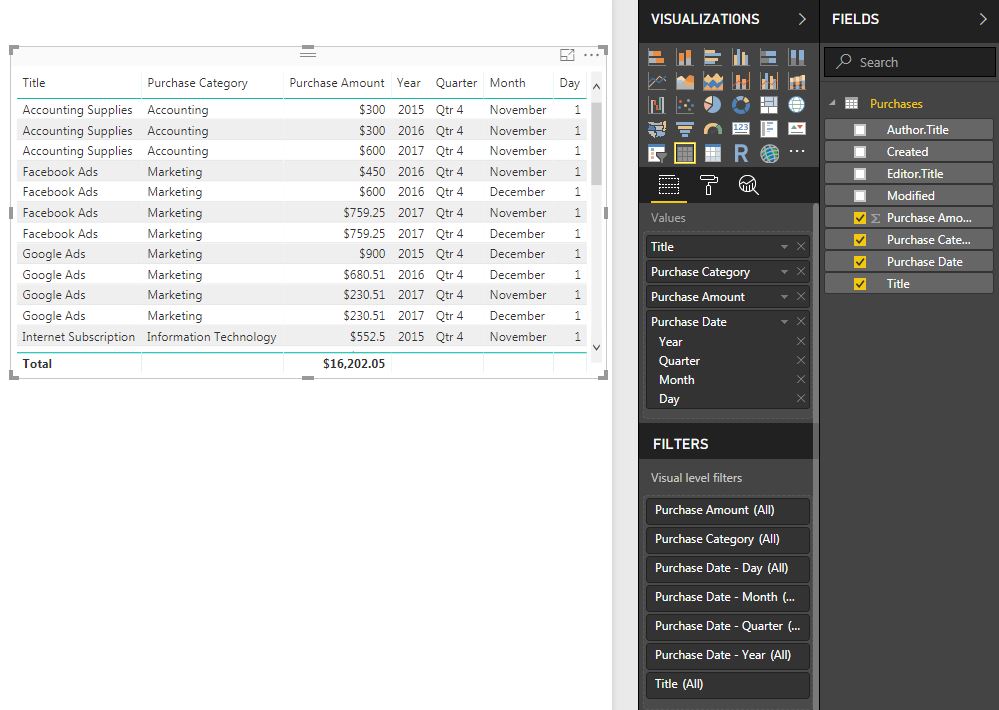
Earlier we have changed the Purchase Date column to Date/Time. Because of this change, Power BI automatically calculated the Year, Quarter, Month and Day and allows us to build time-based reports.
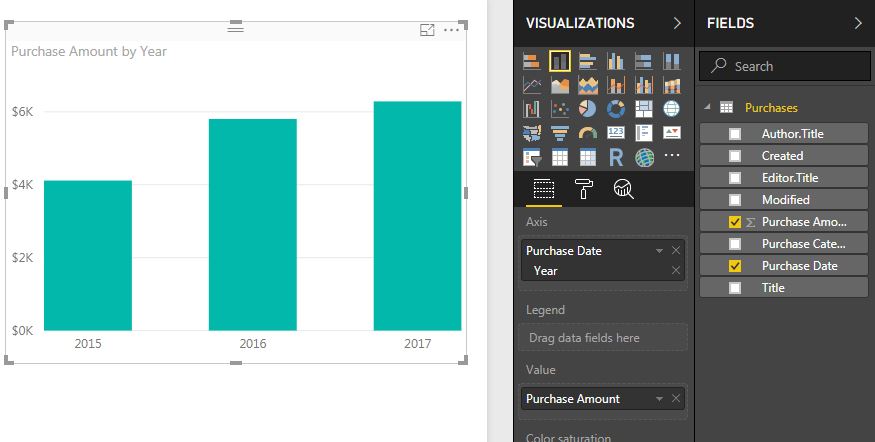
Creating a Stacked Column Chart
Select the Stacked Column Chart icon under Visualizations and drag Purchase Date under Axis and Purchase Amount under Value.
We can easily add Data Labels to the Power BI chart. Click the format icon in the visualization panel and set the Data labels to toggle to On. This is turned off by default.
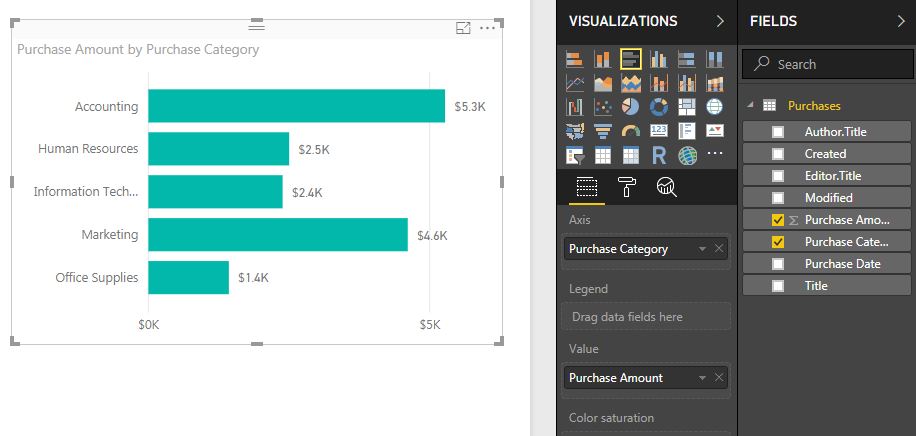
Creating a Clustered Bar Chart
Select the Clustered Bar Chart icon under visualizations and drag Purchase Category under ‘Axis’ and ‘Purchase Amount’ under Value.
Click the format icon in the visualization panel and Set the Data labels to toggle to On to add data labels to the clustered bar chart.
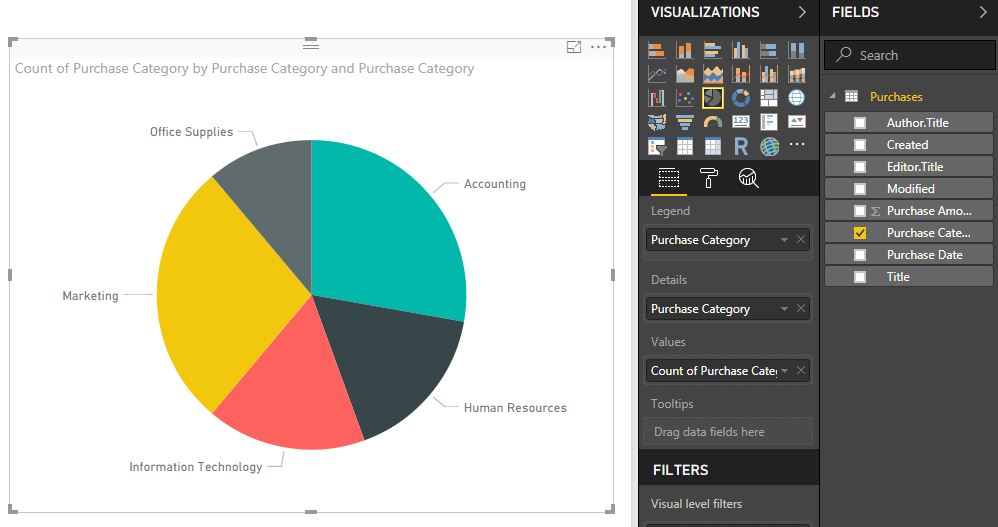
Creating a Pie Chart
Select the Pie Chart icon under visualizations and drag Purchase Category under ‘Legend’ and ‘Details’. Drag Purchase category column under Values and set it to Count.
We have now created a stunning report in minutes and we are ready to publish it. Before we can embed it in SharePoint Online, a Power BI report must be published to the Power BI Service.
You can save reports to your computer and view them in Power BI Desktop for free. To publish reports for consumption and embed into SharePoint Online, you would need a Power BI Pro license.
If you don’t already have a license, you can sign up for a free 90-day Power BI Pro license.
https://powerbi.microsoft.com/en-us/get-started/
You can read more about Power BI pricing here. Power Bi Pro licenses cost $9.99 per user per month.
https://powerbi.microsoft.com/en-us/pricing/
Create an App Workspace in Power BI Service
Unfortunately, just embedding a report in SharePoint Online does not automatically grants access to the current SharePoint Users who already have access. They must be given access to the Power BI Service. To give them access, we would have to create an app workspace.
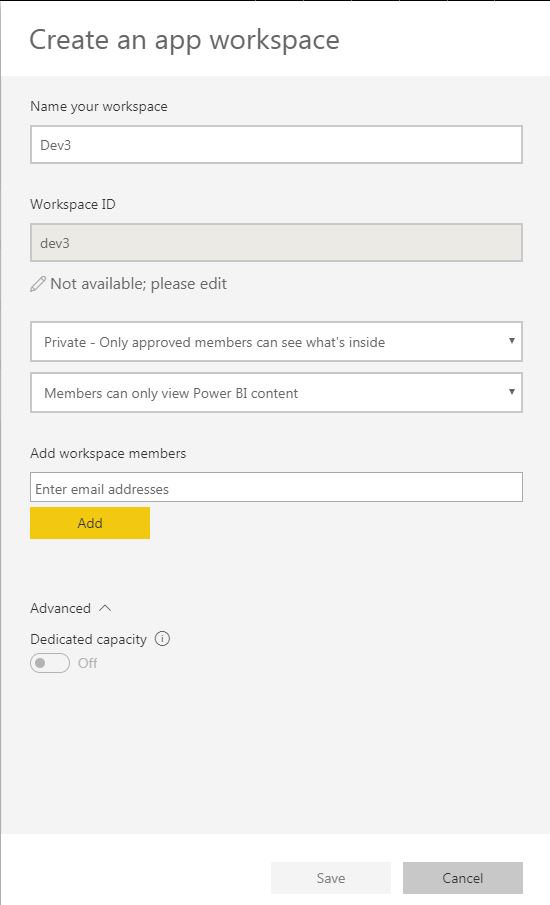
Sign into the Power BI Service. Click on Workspaces and click Create App Workspace. Add the members who would view the report in SharePoint Online.
Adding a security group to an app workspace is not an option currently. Microsoft is working on allowing security groups in an app workspace and this is something that is on their roadmap.
Publish to Power BI Service
Head over back to Power BI Desktop after you have signed up for a license and created an app workspace, click the File button and click Sign In to log in to the Power BI Service. Enter your email address associated with the Power BI Pro license and click Sign In.
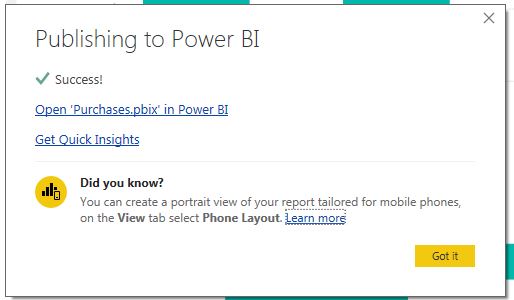
Click Publish. Select the app workspace we created earlier as a destination to publish your Power BI report. Once your report is published, you will receive a Success message and link to Open the report in Power BI.
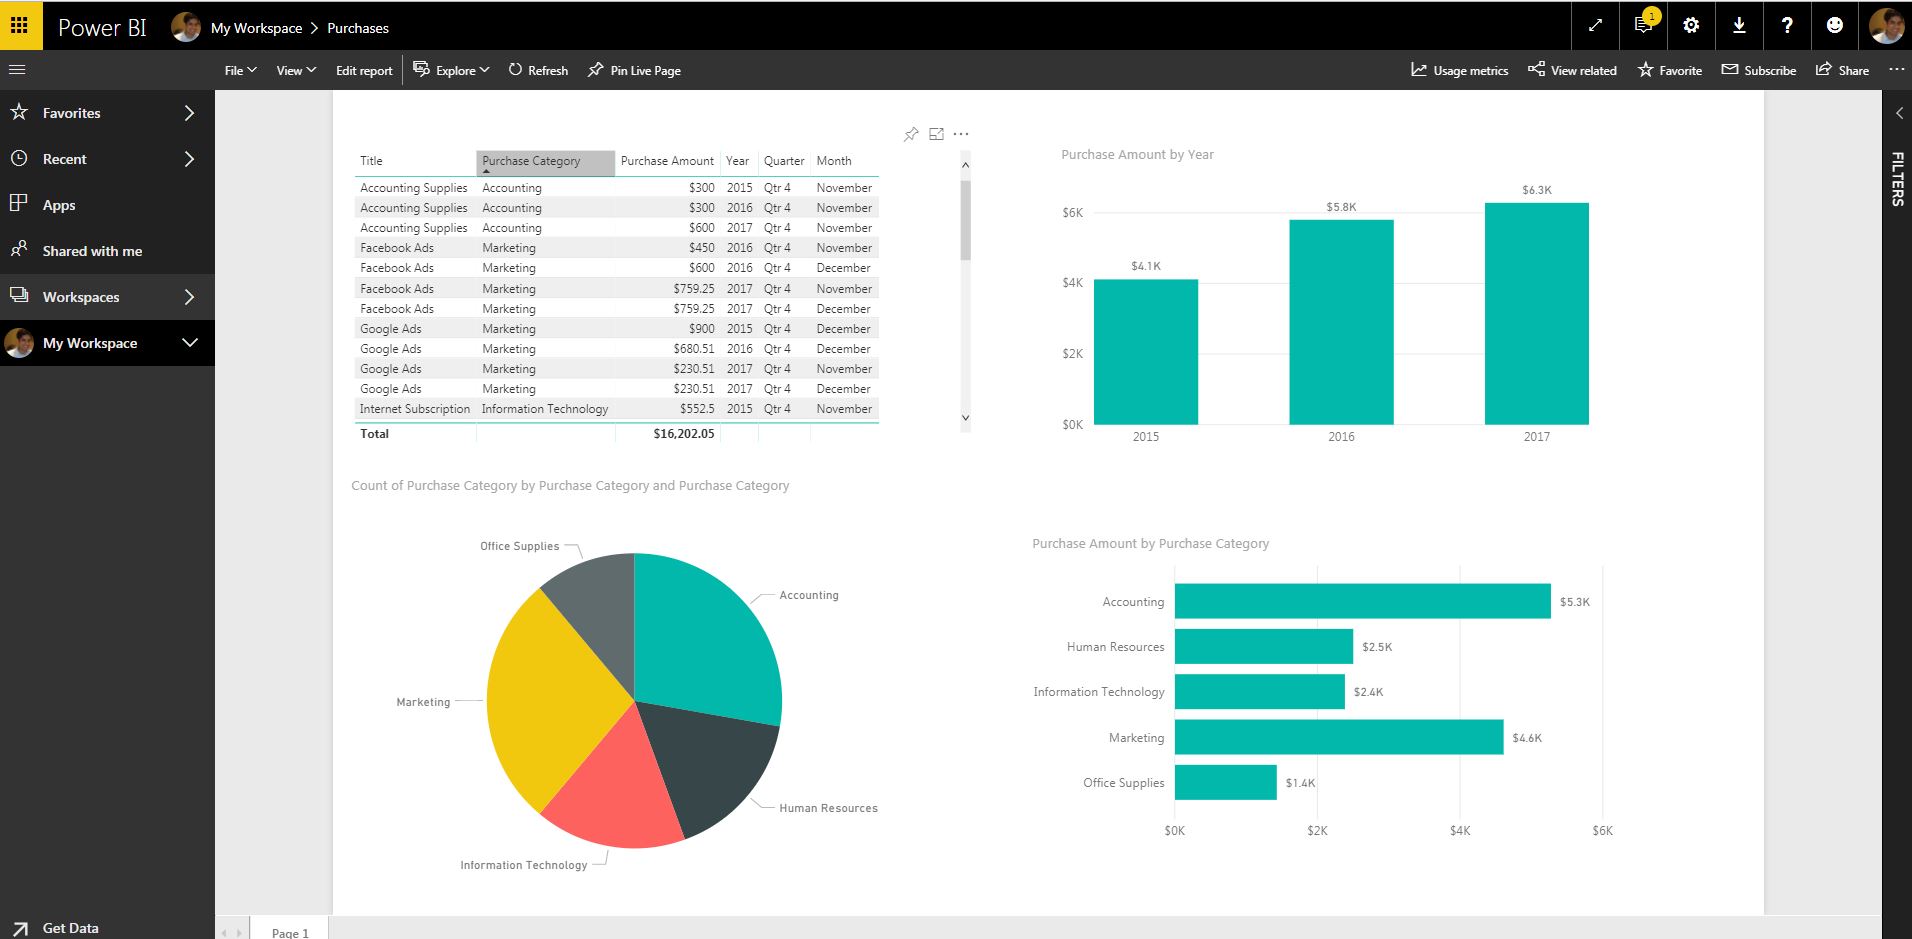
You can now view the report in Power BI and share with other users who have a Power BI Pro license. The users who were added to the app workspace earlier will now have access to the Power BI report.
Embed the Power BI Report in SharePoint Online
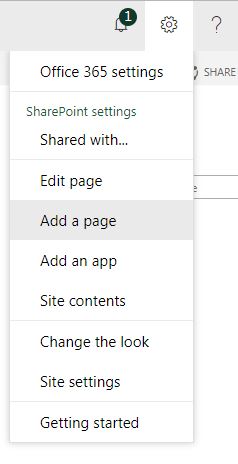
Open the SharePoint site, where we would like to add the report and click Add a Page to add a new modern page. You can skip this step if you already have a modern page you would like to add the report to.
Name the page and select the Power BI web part. Click Add report to display the web part properties.
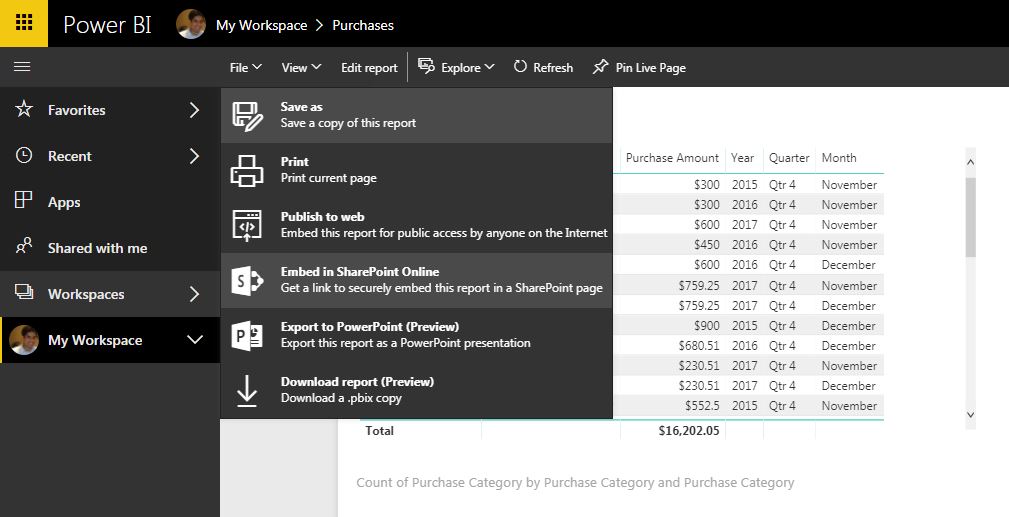
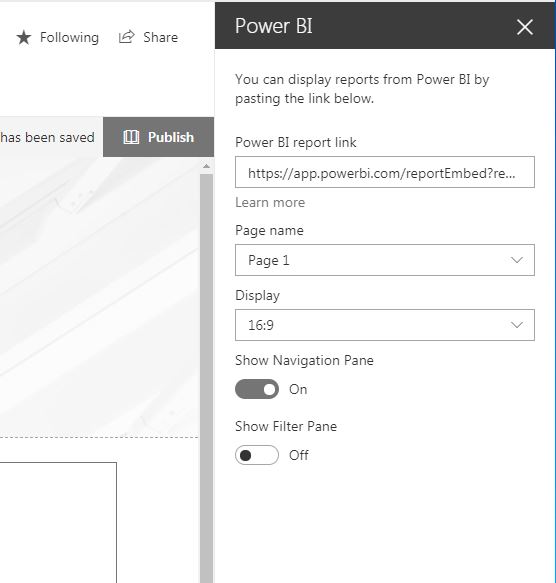
To get the Power BI Report link, go back to the Power BI. Click File and then select Embed in SharePoint Online. A Dialog box with the embed link for SharePoint is displayed.
Copy this link and paste it into the Power BI report link web part property. Page Name is the name of the Page in the report. You can have multiple pages and choose the default page of the report, you would like SharePoint to display.
We now have an interactive and beautiful report that allows us to slice and dice our data right in SharePoint. You can also click a chart and have it act as a slicer and automatically filter all the tables and charts on the page.

In another post, we will explore more advanced concepts like connecting to multiple SharePoint lists and building relationships, branding and customizing the theme of the Power BI report and scheduling a refresh of the data.