This is a blog post in the series “Implementing a Business Development/Sales Pipeline in SharePoint.” In this series, I will show you how to implement a Pipeline to manage and track your Sales or Development Opportunities.
In Part 1 of this series, we have already setup a Custom list named Pipeline to track Opportunities and their status. We added the metadata columns associated to an opportunity and modified the default view.
In this blog post, we will add custom views to easily group and view information in the Pipeline.
Create Custom Views
Opportunities Due in 90 Days
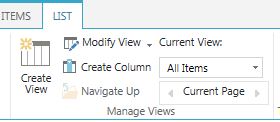
We will create a custom view to track the Opportunities whose ‘Projected Close Date’ is within the next 90 days. Select Create View from the List Tab and select start from an existing view ‘All Items’.
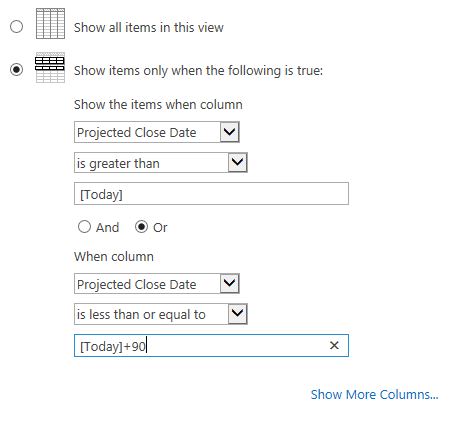
In the Filter Section, apply the following filter. Since we would like to see all Opportunities that are going to be due in the next 90 days, set the ‘Projected Close Date’ <= [Today]+90.

Opportunities Due in 30 Days
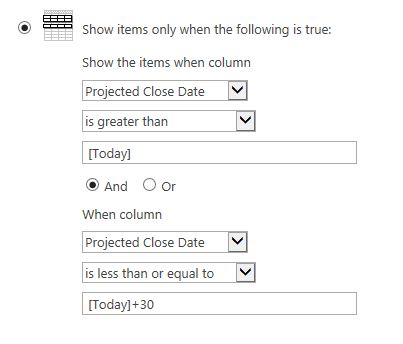
To create a view to track Opportunities whose ‘Projected Close Date’ is within the next 30 days, select create view and start from the existing view we just created ‘Due 90 Days’.

Modify the existing Filter from ‘[Today]+90’ to ‘[Today]+30’.
Track Number of Opportunities by Stage
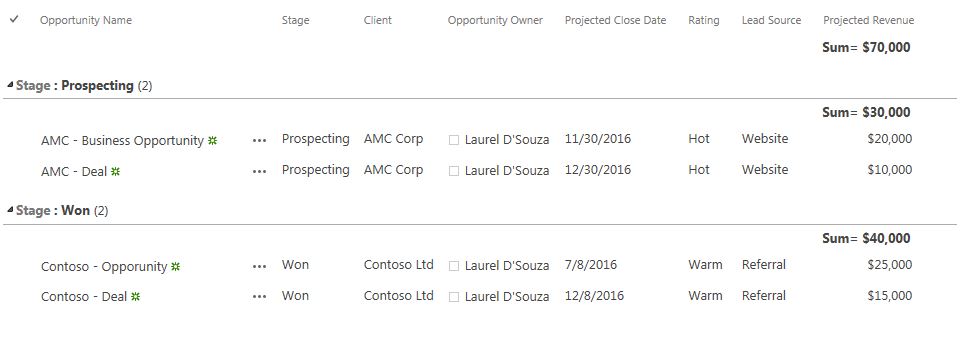
To create a view to track Opportunities by stage, select create view and in the Group by Section, set First group by the Column to ‘Stage’.
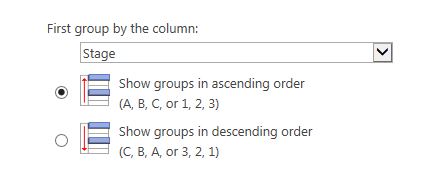
Now we have view to track Opportunities by Stage.
Track my Opportunities
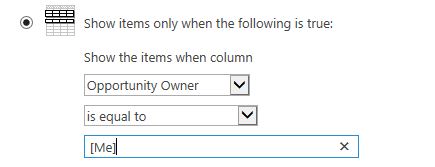
If you would like your Sales Staff to see the Opportunities they are responsible for, Create a new view and in the Filter Section, set ‘Opportunity Owner’ = [Me].
In the next part of this series, I will cover a scenario where your ‘Stage’ may be a multiple choice and you would like to track the number of Opportunities in each Stage.
Implementing a Business Development/Sales Pipeline in SharePoint (Part 3)